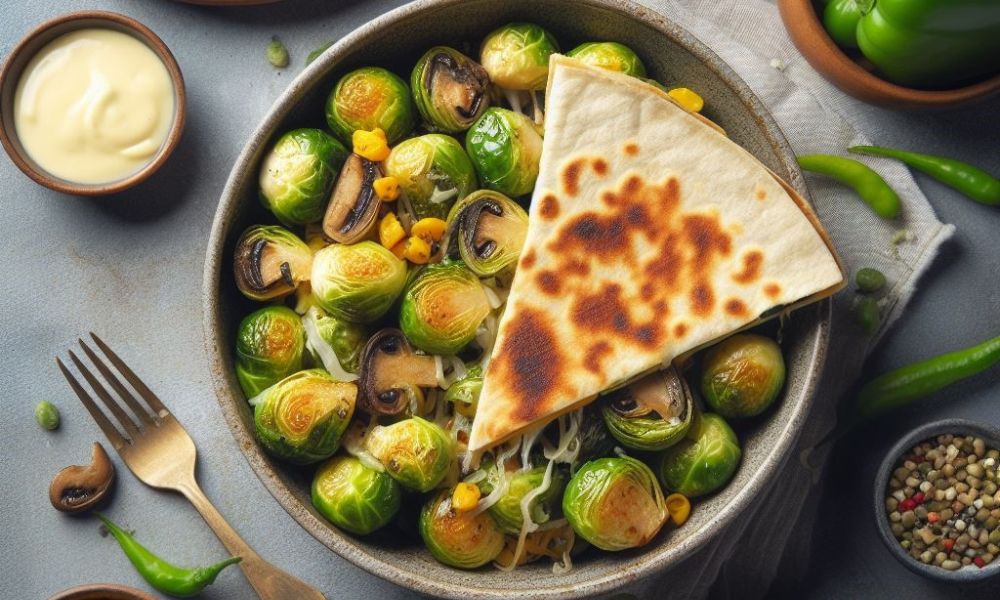
The Ultimate Guide to Crafting Gourmet Quesadillas

5 Ways to Perfectly Heat and Cook
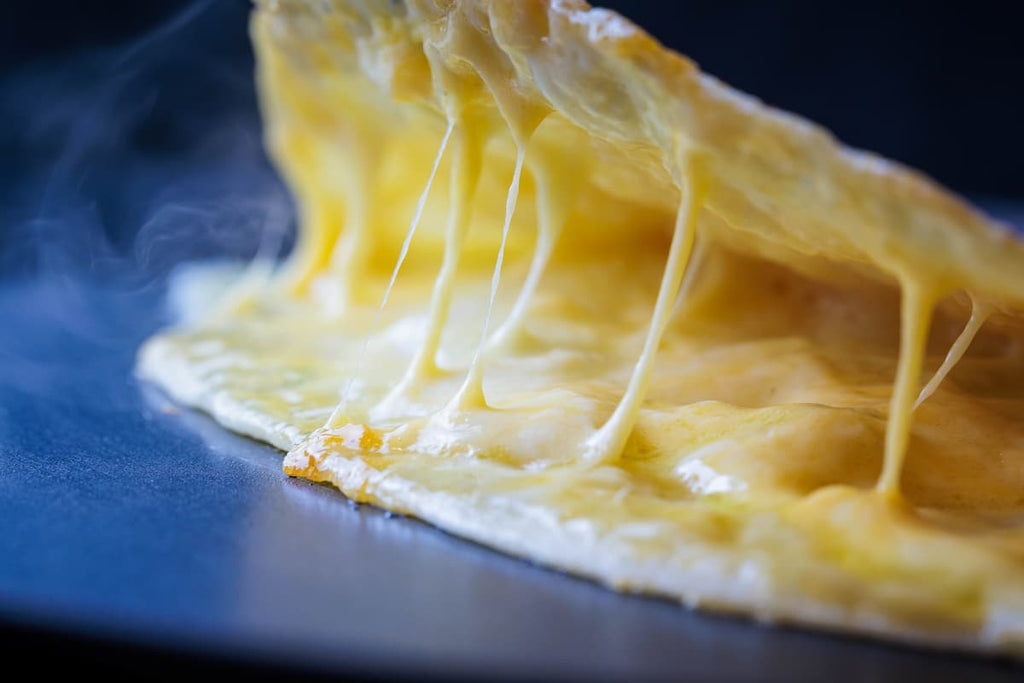
Creating the perfect gourmet quesadilla is an art, and it all starts with how you heat and cook your tortilla and fillings. Here, we explore the top 5 methods—each with its own flair and nuances—to elevate your quesadilla game. From the sizzle of the stove to the smokiness of the BBQ, discover the pros and cons of each technique for crafting a healthy and gourmet quesadilla.
1. Stovetop Sizzle
Pros:
- Quick and Direct: Stovetop cooking provides immediate heat for rapid preparation.
- Versatile: Suitable for various quesadilla types and fillings.
Cons:
- Potential for Uneven Cooking: Requires attention to prevent uneven cooking or burning.
- Limited Quantity: Cooking multiple quesadillas simultaneously may be challenging.
How to:
- Preheat a dry skillet or griddle over medium-high heat.
- Assemble your quesadilla and cook for 2-3 minutes on each side or until the cheese is melted and tortilla is crispy.
2. Oven Perfection
Pros:
- Even Cooking: Baking ensures even cooking for a consistent result.
- Hands-Free: Once in the oven, you have time for other culinary tasks.
Cons:
- Takes Longer: Baking requires more time compared to stovetop methods.
- Potential Dryness: Without careful attention, quesadillas may become dry.
How to:
- Preheat the oven to 375°F (190°C).
- Place assembled quesadillas directly on the oven rack or a baking sheet.
- Bake for 10-15 minutes, turning halfway through, until the tortilla is golden and the cheese is melted.
3. BBQ Grilling Bliss
Pros:
- Smoky Flavor Infusion: Adds a delightful smoky flavor to quesadillas.
- Grill Marks: Achieves attractive grill marks for a visually appealing dish.
Cons:
- Skill Required: Requires attention to grill temperature and timing.
- Not Ideal for All Fillings: Certain fillings may not fare well on the grill.
How to:
- Preheat the grill to medium-high heat.
- Place assembled quesadillas directly on the grill grates for about 2-3 minutes on each side.
4. Air Fryer Crisping
Pros:
- Crispy Texture: Yields a crispy texture similar to frying without excess oil.
- Even Cooking: Ensures even cooking with minimal effort.
Cons:
- Equipment Requirement: Requires an air fryer.
- Limited Quantity: Basket space may limit the number of quesadillas cooked at once.
How to:
- Preheat the air fryer to 375°F (190°C).
- Spray both sides of the quesadilla with cooking spray and air fry for 5-7 minutes, turning halfway through.
5. Panini Press Precision
Pros:
- Uniform Pressure: Creates an evenly pressed quesadilla.
- Multi-Functional: Doubles as a sandwich press for versatile kitchen use.
Cons:
- Equipment Requirement: Requires a panini press.
- Size Limitation: Quesadilla size may be restricted by the press dimensions.
How to:
- Preheat the panini press.
- Assemble your quesadilla and place it on the press.
- Close the lid and cook for 3-5 minutes or until the cheese is melted and the tortilla is golden.
Conclusion
Choosing the right cooking method for your gourmet quesadilla depends on your preferences and the equipment available. Each method brings its unique advantages, whether it's the quick and direct heat of the stovetop or the smoky flavor infusion from the BBQ. Experiment with these techniques to find the one that suits your taste and turns your healthy quesadilla into a gourmet masterpiece.

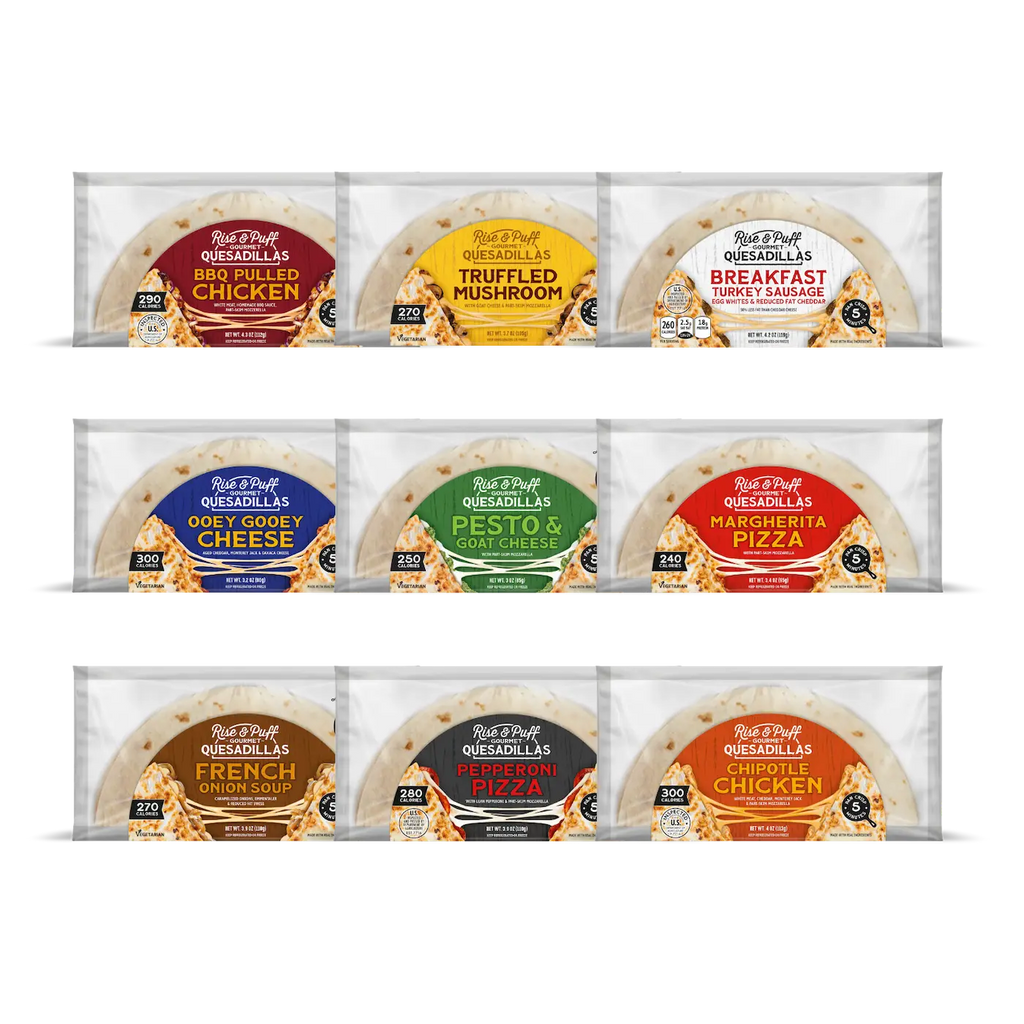


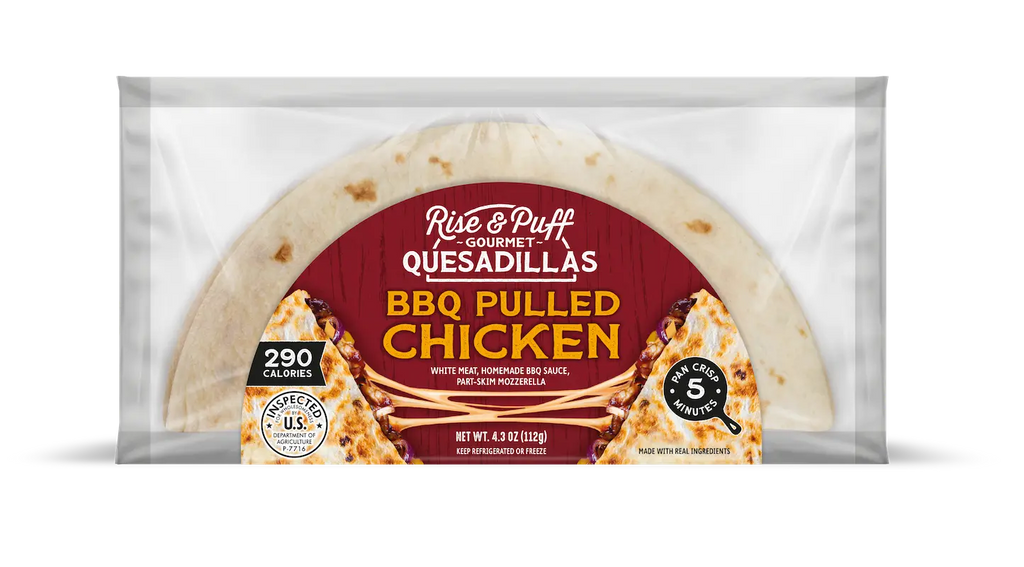
BBQ Pulled Chicken

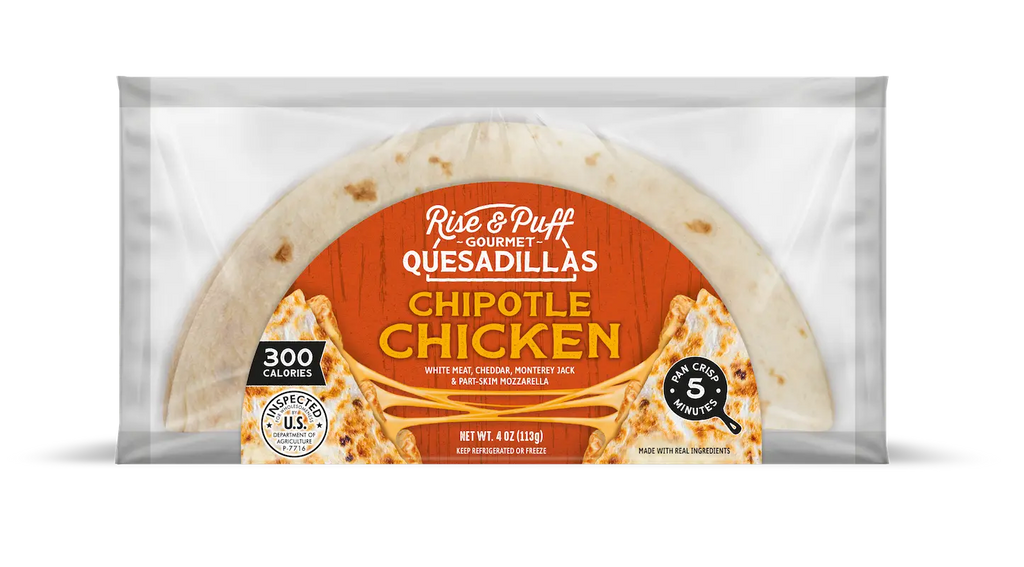
Chipotle Chicken

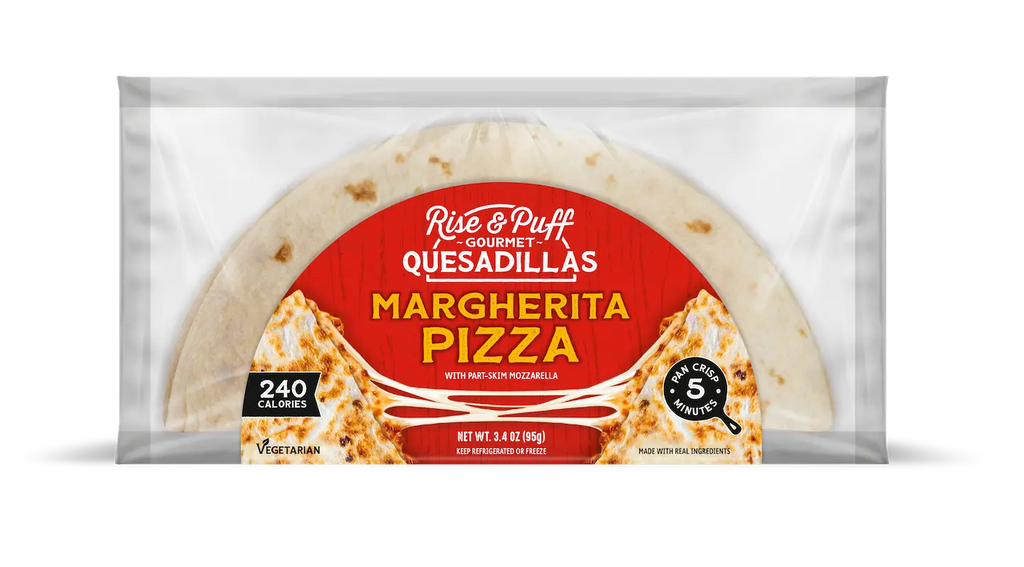
Margherita Pizza

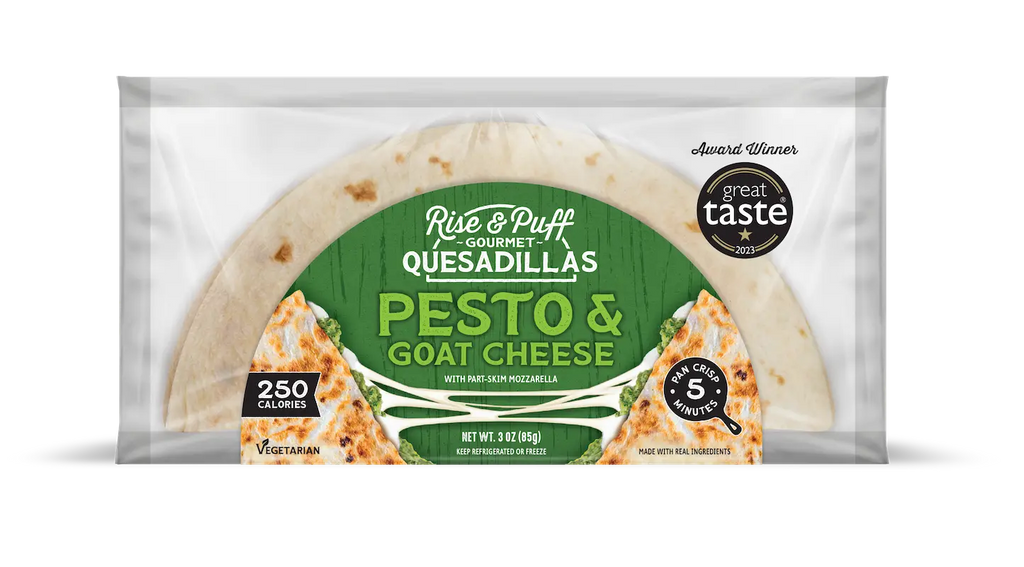
Pesto & Goat Cheese


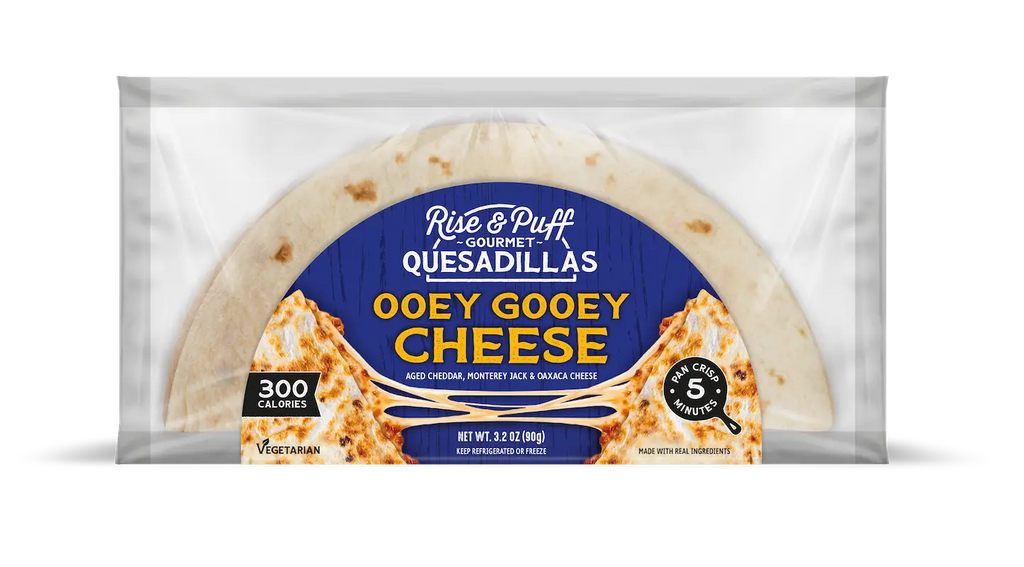

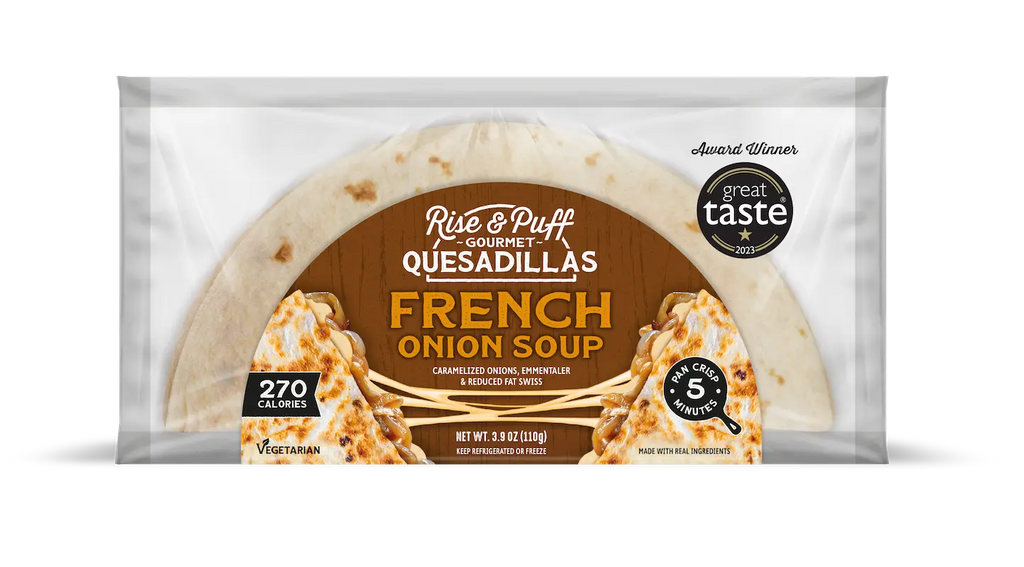
French Onion Soup


Comments